


One of the great things about a GoFlex drive is its flexibility. The GoFlex drive comes preloaded with software for a Mac, a Windows PC, or both.
This article will cover how to use the drive on both MacOS and Windows.
The key is to choose the proper options when you connect to the computer running MacOS.
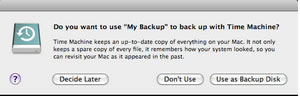
If you see a prompt about TimeMachine, answer Cancel.
If you say Yes, you will lose the ability to use the software pre-loaded on the drive and the drive will only work under MacOS.
If you have already enabled Time Machine and are reading this later, you can reformat the drive in Windows and download the NTFS driver software to start over.
At this beginning, the drive is in Read-only mode under MacOS. Installing the included NTFS driver for MacOS will allow you to have read and write access.
Connecting to the MacOS computer for the first time:
- Connect the GoFlex drive to the computer.
-
Click Don't Use if a TimeMachine prompt appears.
-
Double-click the GoFlex icon on the desktop (it may take a minute for the icon to appear).

-
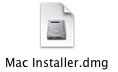
Double-click the Mac Install.dmg file.
-
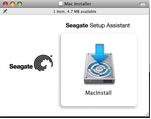
Double click MacInstall.
-
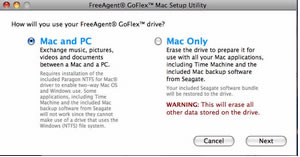
Follow the Wizard and choose Mac and PC.
- Complete the installation wizard.
- Reboot.
- Activate the software if prompted.
- Reboot the Mac one more time.
- Files can now be copied to the drive by using drag and drop in Finder (see Document ID: 206295 for more information).
Connecting to a Windows computer:
- Connect the drive to the computer.
- Open (My) Computer to access the GoFlex drive.
- Drag files to the GoFlex drive (see Document ID: 206419 for more information).