


This article will explain how to change the Drive Sleep Interval on a FreeAgent drive.
You can choose how long your FreeAgent drive should remain inactive before it goes into power-saving mode. To adjust the drive sleep interval:
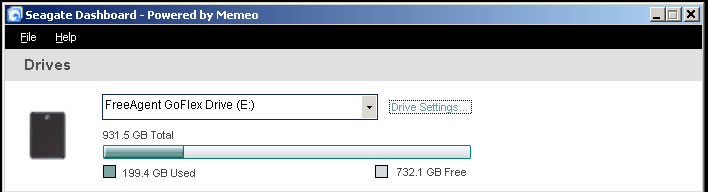
- Open the Seagate Dashboard application.
-
Click Drive Settings in the Drives panel.
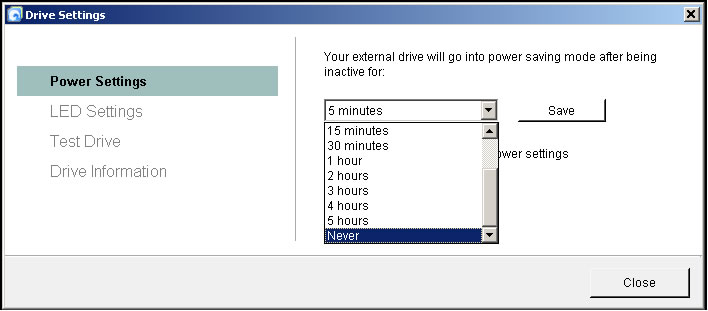
- The Drive Settings window opens. Click Power Settings.
- Select an interval from the dropdown menu (e.g. Never).
- Click Save to save the Drive Sleep Interval setting.
-
The Power Settings window confirms that the power setting for your drive has been changed. Click Close to return to the Seagate Dashboard window.
For more information on these steps, please see Document ID: 214079.
If you set the drive's sleep interval to "Never" and the drive still falls asleep, or if the drive continues to fall asleep more quickly than your setting, please follow these instructions for Windows XP/Vista/7:
- Right-click on Computer (My Computer in XP)
- Select Manage.
- Select Device Manager.
- Select Universal Serial Bus Controllers.
- Double-click on the 1st Root Hub.
- Go to the Power tab.
- See if the drive (ie, "USB Mass Storage Device") is connected to it. If not, try the next Root Hub. If so, click the Power Management tab.
- Uncheck the box that says: "allow computer to turn off this device to save power".
For MacOS, follow these steps to troubleshoot:
- Install the software.
-
Confirm that your drive is connected directly and correctly.
The drive must be connected directly to the Mac's USB or Firewire port to ensure that the spin-down command is sent to the drive. Do not connect the drive to a USB or Firewire port on the computer monitor or on the keyboard. - Click on the Apple > Choose System Preferences.
- Click on the Energy Saver Icon.
-
There is Check box that says Put the hard disk(s) to sleep when possible.
Check the box here to set the drive(s) to sleep after 10 min of inactivity.
(Removing the check mark will disable disk sleep.) - Check what the disk sleep settings are now (if desired).
- Click on the Apple > About this Mac.
- Open the System Profiler.
- Click on More Info.
- Click on Power in the left column. The current Disk Sleep time is displayed in minutes on the right.