


Please follow this procedure to map a Seagate Business NAS share in Windows using the Seagate NAS Discovery software:
- If Discovery is not already installed, insert the DVD included with your Seagate Business NAS into your DVD drive.
The installation wizard opens automatically. - If necessary, click Run Setup.exe in the AutoPlay window. If the installation does not begin automatically, launch it manually by clicking Start and then Run...
Type d:\setup.exe when the Run dialog box displays (where “d” is the drive letter of your computer’s DVD drive).
For Windows 7, click Start > Computer > Devices with Removable Storage > BlackArmor. - Follow the on-screen instructions to complete the installation.
- (Windows 8: Press Windows key + D to arrive at the desktop.)
Launch Discovery as administrator: Right-click on the icon on your desktop or in the Start menu under (All) Programs and select Run as administrator.
The Discovery software launches.
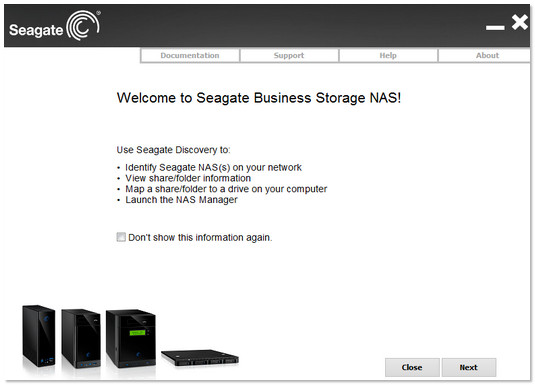
- Select Next.
- Select the hostname of your Seagate Business NAS (or the name to which you changed it).
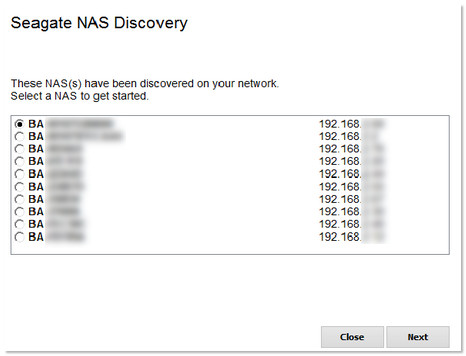
The share selection page displays.
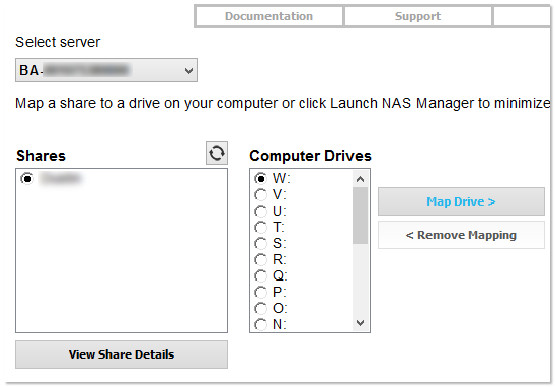
- You can assign a drive letter to a particular share of your choosing.
If you would like to assign another share to another drive letter, please repeat the above procedure. - To access the mapped shares, open (My) Computer and double-click on the drive letter you assigned to the share you want to access.