Please follow this procedure to create a share and set its permissions:
- Access the administrator's page of the Rackmount NAS by launching the Seagate Network Assistant and pressing the Web access to the NAS OS Dashboard button, or by typing the IP address of the device in the address bar of a web browser.
-
Log in with your administrator's credentials. This will bring you to the home page.
-
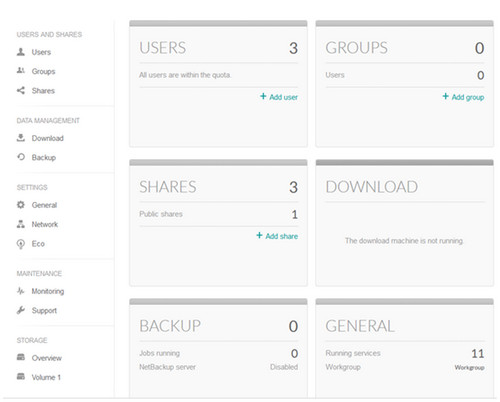
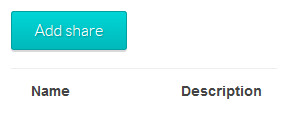
On the left sidebar under Users and Shares, select Shares, then Add share.
-
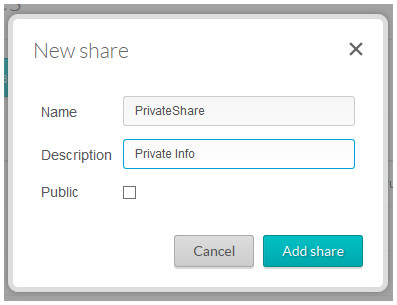
Choose a name for your share. You also have the option to enter a description to differentiate the share from other shares.
By default, the share will be private, with access limited to users chosen by the administrator.
To make the share public to everyone on the network, check the Public box.
-
To adjust the settings to the share and to add access rights to users, mouse to the far right of the share to see the Edit dropdown menu options.

-
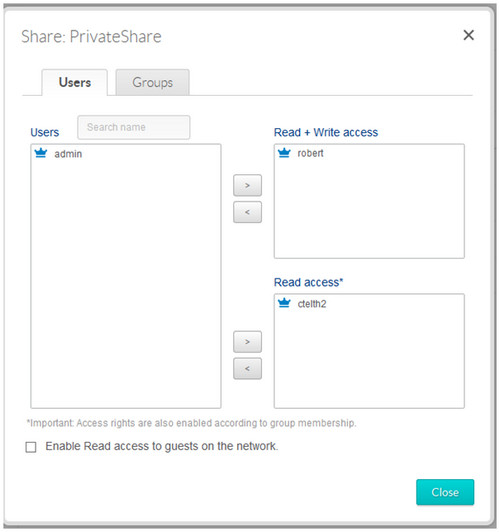
Click on Users (or Groups if you have a group created).
Choose from the list of available users or groups to the left, and click on the arrow to send them to the desired box.
- Read+Write gives full access to a user/group, allowing them to view files and to create files on the share.
- Read access gives limited access to a user/group, allowing them to view files on the share.
If you leave the user or group in the left box, it will not be able to access the share at all.